Every week we get emails that say "I need a seat for my forklift" — and nothing else. Nobody can answer that email without the forklift seat mounting pattern, because the seat that fits your truck is decided by something far less glamorous than the brand on the counterweight: the mounting pattern under the old seat. Get that pattern right and almost any properly built replacement can be made to work. Get it wrong and the best seat in the world sits in your warehouse with four holes that line up with nothing.
Here is what to measure, what to photograph, and the mistakes that cause most wrong-seat orders.
Why the forklift seat mounting pattern decides everything
A forklift seat never attaches to the truck directly. It bolts to a seat base or floor plate, sometimes through a pair of slide rails. The bolt holes follow fixed centre-to-centre distances chosen by the truck builder, not by the seat maker. So the real question is never "does this seat fit a 2.5-ton truck?" It is: does the hole pattern under this seat, or on its rails, match the pattern on your base? Your truck's OEM manual sometimes lists it; on older machines the fastest reliable source is a tape measure and ten minutes with the old seat removed.
The four measurements to take
Remove the old seat — usually four bolts — and measure on the seat base, centre-to-centre, in millimetres.
1. Front-to-back hole spacing
The distance between the front pair of holes and the rear pair, along the direction of travel. Take it on both sides — some bases are not perfectly square, and knowing that saves a second email later.
2. Side-to-side hole spacing
The distance between left and right holes, measured across the truck — front pair and rear pair separately. Trapezoid patterns, with the front pair wider than the rear, are common and easy to miss. As a reference, roughly 230 mm × 150 mm is a common pattern on smaller counterbalance trucks — treat that as an example, never as an assumption about your machine.
3. Rail centre distance
If the seat sits on slide rails, measure from the centreline of one rail to the centreline of the other, at the base where the rails bolt down. Note whether the rails belong to the seat or stay with the truck — a seat with built-in rails ordered for a truck that already has rails is one of the most common mismatches we untangle.
4. Mounting plate or direct holes
Look at what the holes go through: a flat plate with tapped holes, through-holes into the seat box, or studs sticking up. Write down which you have, and the usable thread depth if bolts go into a closed box — a bolt 10 mm too long bottoms out before the seat is tight.
The photos that answer questions before we ask them
- Straight down onto the seat base, with the tape lying across the holes so the numbers are readable in the shot.
- The underside of the old seat, showing its rails or bolt bosses and any suspension unit still attached.
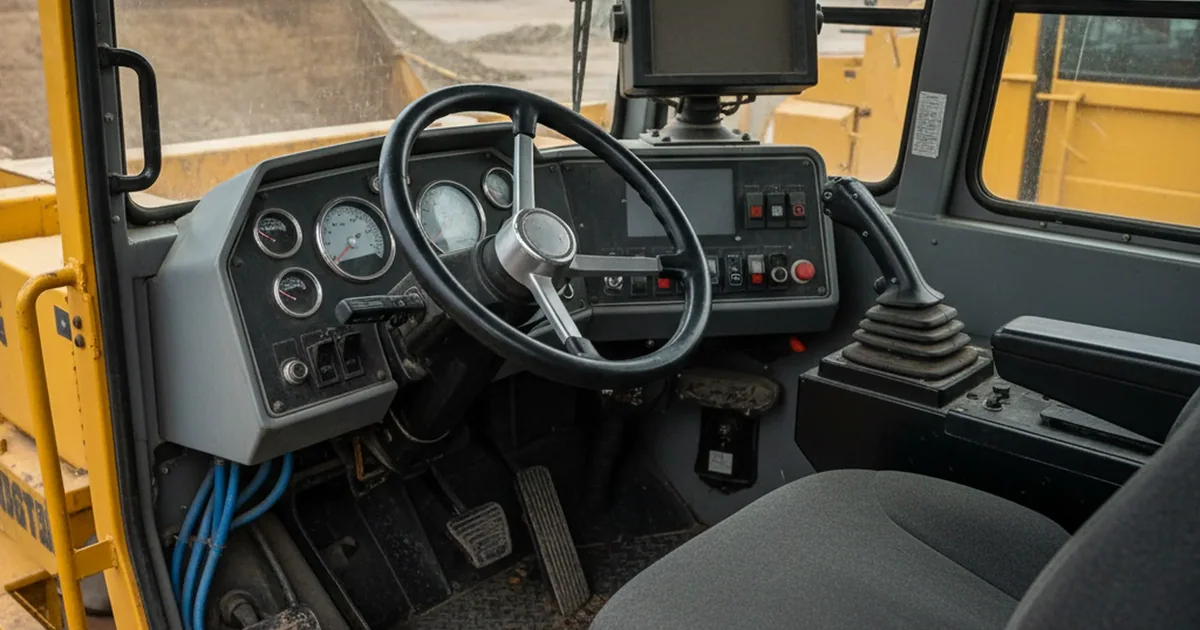
- A step back from the operator compartment, showing the height between base and steering wheel — compressed heights vary, and a seat that fits the holes but lifts you into the wheel is not a fit.
Common mistakes that lead to wrong orders
Measuring elongated holes as if they were round. Vibration pulls bolt holes into ovals. Measure from the original centre — the middle of the oval's short axis — not edge to edge, or the pattern reads several millimetres off in the direction of wear.
Measuring the top of the rails instead of the base. What matters is where the assembly bolts to the truck; the rail tops often follow a different pattern entirely.
Forgetting suspension height. If both old and new seats have suspensions, compare compressed heights, not just holes.
Ignoring the accessories. Presence switches, belts and armrests need their mounting points. If the truck's interlock runs through a seat switch, say so — without it the machine will not drive at all.
What to send us
Put the four measurements, the machine model and the three photos in one email to sales@klseats.com, and mention rails, presence switch and belt. A seat application engineer checks your pattern against our mounting options and replies with a straight answer: which seat fits as-is, which fits with an adapter plate, and when nothing in the range is a clean fit for your base.
Ten minutes with a tape measure is the cheapest insurance in the whole purchase. Measure first, photograph second, order once.